
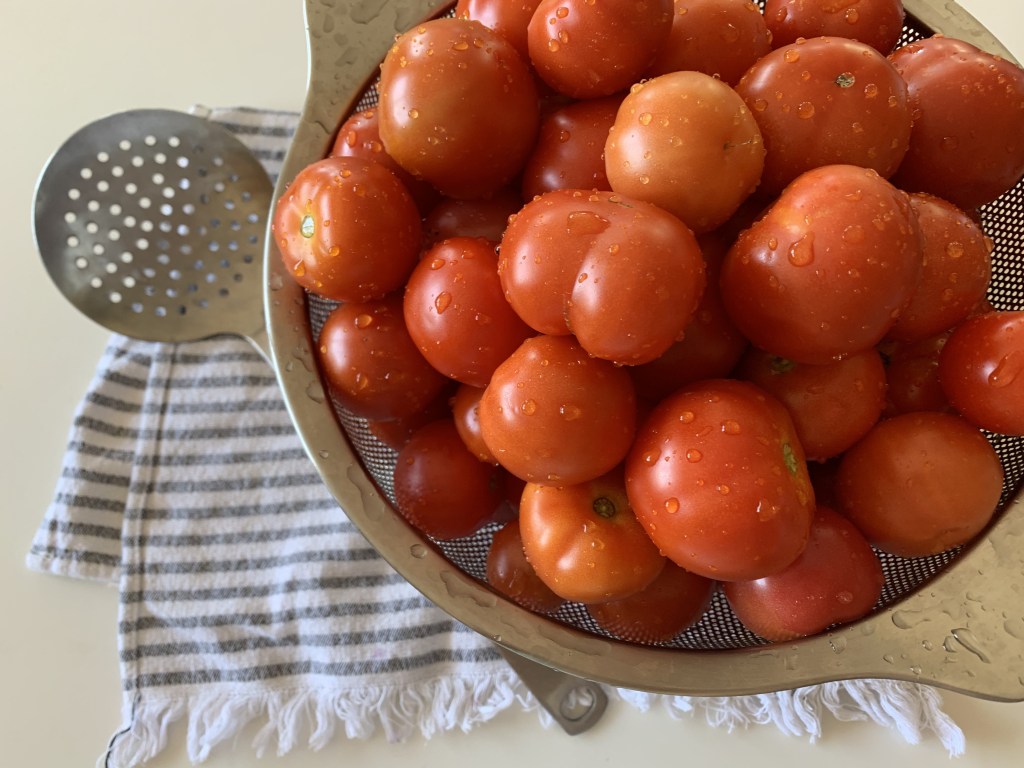
Cozy, comfort food season is almost here! Chili, soups, saucy pasta dishes, loaded casseroles… some of my favorite recipes to cook. You know what all of these have in common? Canned tomatoes! Stewed tomatoes, diced tomatoes, tomato sauce, tomato paste. Imagine if we replaced all of our aluminum canned tomatoes with fresh, canned-at-home tomatoes? Here’s the good news- canning tomatoes is actually a pretty simple process!
Last week I spent a couple of hours canning tomatoes with some friends. We had been trying to find time in our busy schedules to catch up with each other, when one of the girls said “I just got an outrageous amount of fresh tomatoes from the farmer I trade produce for milk with… what if we work together and split the product?” We all brought our glass jars, and just had a BALL of a time (see what I did there). So gather some gals, can, and catch up on life.
For the sake of simplicity, I prefer to can all of my tomatoes whole. For some, spending a weekend canning your individual tomato products makes more sense. Grabbing a can of ready-made marinara sauce from the shelf and dumping it over pasta really is quite convenient after a busy day! For me, I find it much simpler to just have a pantry stocked with basic canned tomatoes-ready to turn into whichever tomato based product I need it to be, rather than keeping up with the inventory of different products on my shelves.
In this article, I will be focusing on canning whole tomatoes. While the process is fairly simple, there are a few “rules” so-to-speak, to keep in mind for safe canning. Here I will go over the rules for canning fresh tomatoes, as well as the steps and tools needed. Let’s dive in!
1. Why Can Your Own Tomatoes?
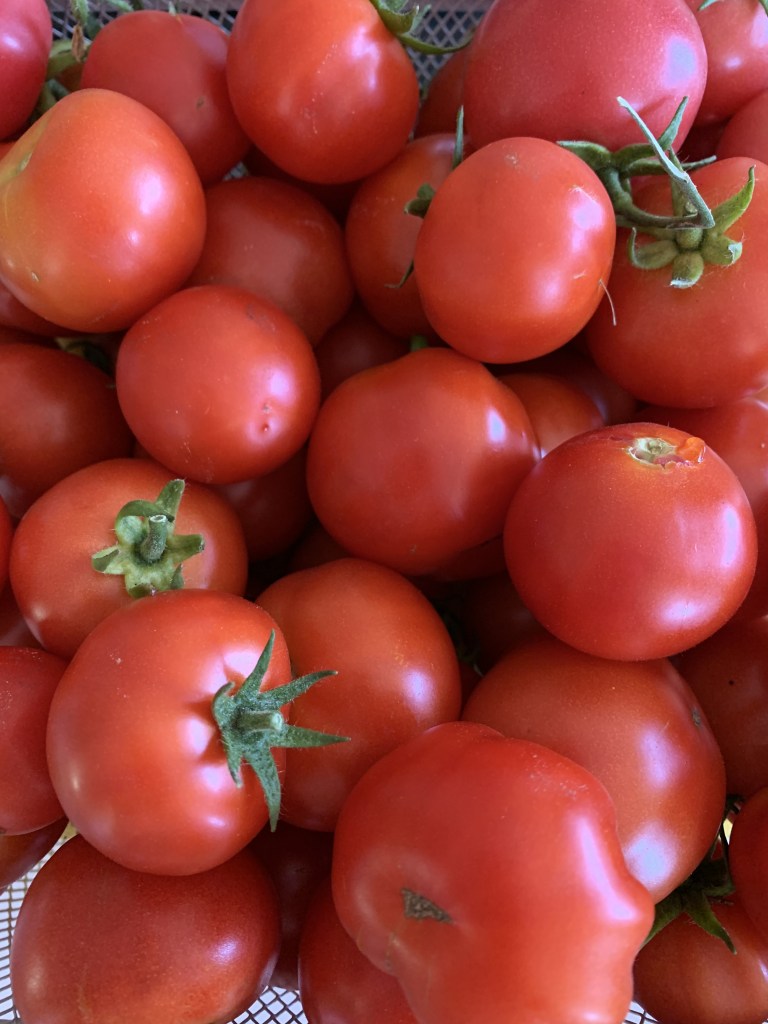
One of the biggest reasons to can tomatoes at home, is to preserve them in their peak of ripeness. This locks in maximum nutrition, flavor and shelf stability. Having home-canned tomatoes on hand allows you to have less dependency on aluminum canned products while still being able to prepare delicious meals at home. Being one of the more simple items to can, processing tomatoes is a great way to “dip your toes” in the art of canning, and gain confidence in your skills. With tomatoes down, your love for canning will grow, and your home pantry with it!
2. Choosing the Best Tomatoes for Canning
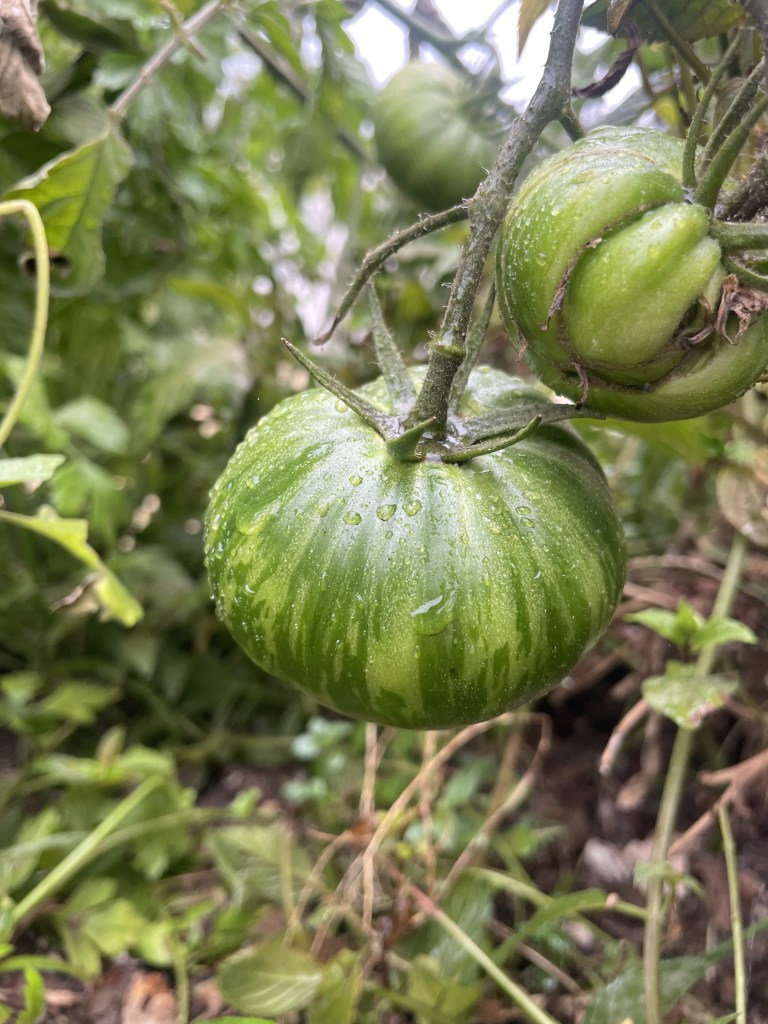
While you can use any variety of tomatoes for canning, there are certainly some varieties that work best. Depending on the tomato products you are canning (sauce, versus crushed tomatoes), an important factor to consider is water content. In general, more fleshy, dense tomatoes work best for canning. This is especially true for thicker sauces! Some varieties that work well include:
- Roma
- San Marzano
- Amish Paste
- Bonnie Best
- Big Mama
*For my gardeners: When planning your next tomato crop, do a little research on the different tomato varieties before throwing just any seeds in the ground. Each tomato variety has a unique flavor profile, acidity level, climate preference and harvest pattern (some ripen all at once, while some fruit throughout the season). If you are growing them for canning rather than fresh munching, the preferred variety will be different.
Another important factor to take into consideration is the variety’s acidity level. Again, for the sake of simplicity, when canning tomatoes I just assume low acidity, and add lemon juice or vinegar when processing. This ensures maximum shelf stability, and is an important safety measure to prevent Botulism.
Be sure to process the best looking fruit! If your tomato has a worm hole or is squishy and bruised, this is a sure sign that bacteria has most likely spread, therefore making it unsafe to can. If you process under-ripened tomatoes, you will end up with a product that lacks flavor and the correct texture. Don’t toss those blemished tomatoes! If the fruit has worm holes or was unusable for reasons other than plant disease, save those seeds for next year! Squishy tomatoes also make great compost or chicken food.
3. Gather Your Canning Supplies
Time to gather supplies! Here’s what you will need:
- Fresh tomatoes
- Canning jars
- New canning lids and compatible bands
- Water-bath canner or other appropriate canning setup
- Jar lifter
- Canning funnel
- Bubble remover/headspace tool
- Bottled lemon juice or citric acid
- Clean towels
4. A Quick Note About Tomato Canning Safety
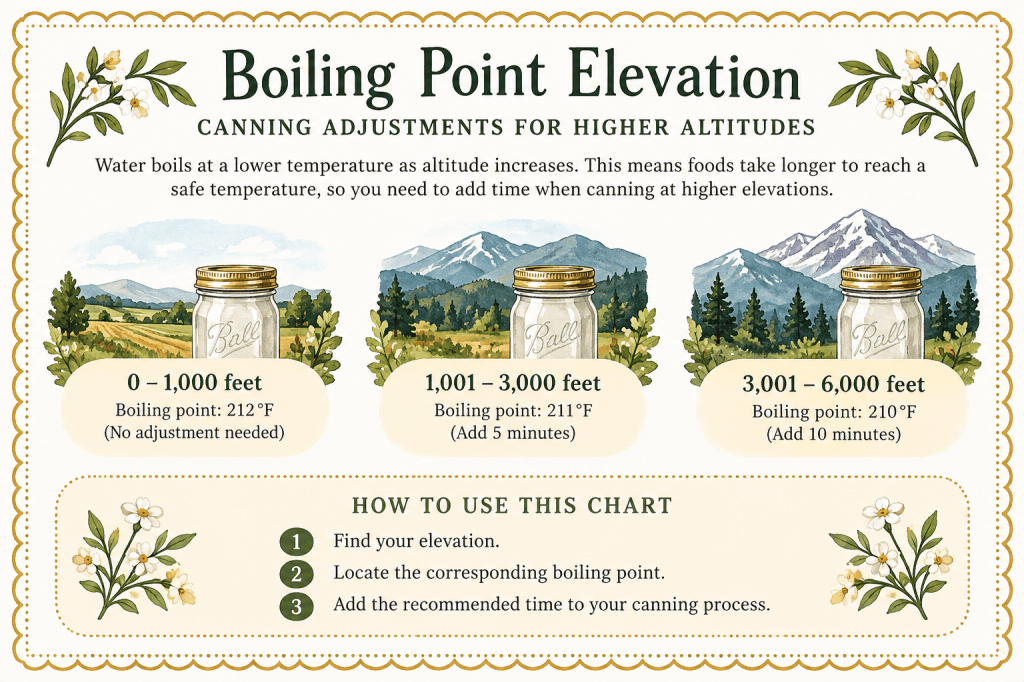
BUT…safety first! While growing, processing and saving your own food is an empowering practice, food safety needs to be taken seriously. Though it is rare, Botulism is a serious bacterial infection caused by a bacteria strain that thrives in improperly canned food items. To mitigate this risk, it is important to carefully follow USDA/NCHFP-tested recipes. Be mindful of proper acidity levels, processing times, cleaning procedures and headspace to ensure a proper seal. Altitude matters! Depending on your elevation, you may need to adjust your processing times. For altitude adjustments, save this handy little chart below.
5. How to Prepare Tomatoes for Canning
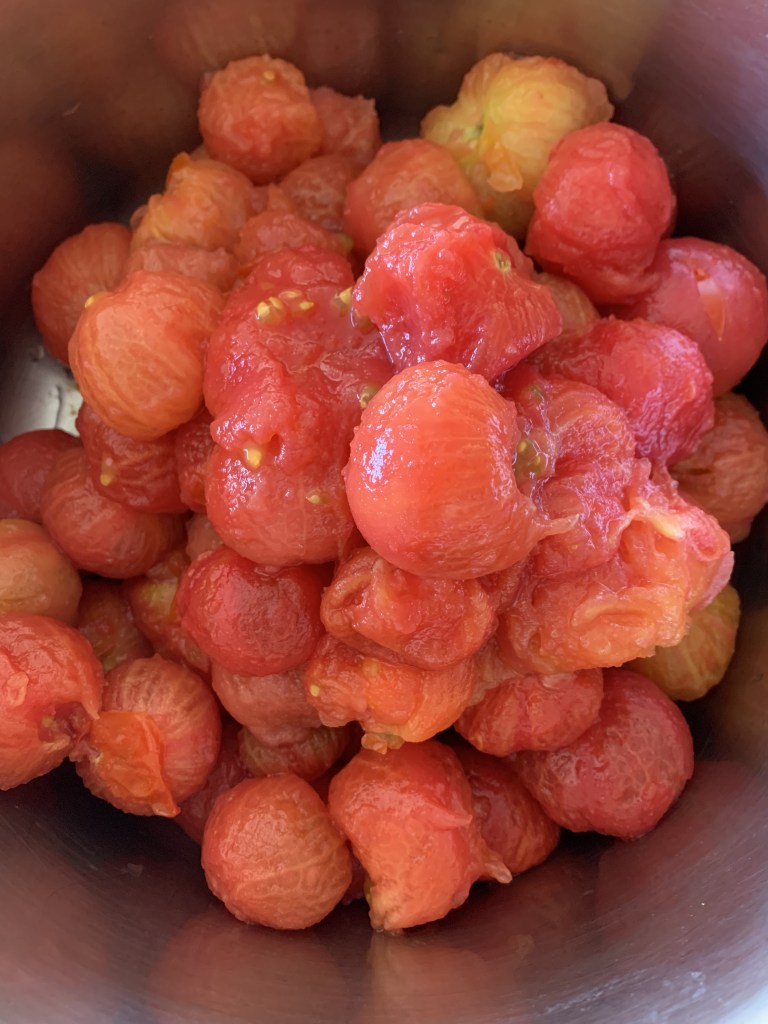
- Thoroughly wash and sort tomatoes, setting aside any blemished or bruised fruit.
- Using a small paring knife, remove tops and cores by cutting at a 45 degree angle, removing a cone shape chunk of the white-colored flesh.
- Having prepared a large stock pot of lightly boiling water, quickly blanch the tomatoes, removing promptly once the skin has began to crack open.
- Transfer blanched tomatoes one at a time (as the skin starts to crack) into a large bowl of ice water to cool.
- Once cool enough to handle (this should only be a couple of minutes in the ice bath), gently remove skins by hand.
6. How to Can Tomatoes Step by Step
Now for the fun part! Below, I have listed the basic steps for canning raw packed tomatoes. For the full recipe, including ingredients and measurements, follow this link: Raw Packed Canned Tomato Recipe
- Step 1: Prepare the canner and jars. Fill canner with water and bring to a boil. Submerge canning jars in boiling water for 10 minute to sanitize. Remove jars.
- Step 2: Add either bottled lemon juice or citric acid to each jar, per recipe requirements.
- Step 3: Use a funnel to fill jars. Be sure to leave room for the appropriate headspace (1/2″ for this recipe).
- Step 4: Use a canning tool or non metal spatula to release any trapped air bubbles by pushing contents toward the middle of the jar.
- Step 5: Wipe the rim of each jar thoroughly (this is where you will thank yourself for using a funnel). It is important to have clean rims so that there are no trapped food particles between your jar and the seal, leaving room for bacteria to grow.
- Step 6: Apply lids and appropriate sized bands. Don’t over tighten! If lids are secured too tightly, it will not allow room for expanding/contracting in the lid, that naturally happens when trying to create a seal. Barely hand-tight is perfect.
- Step 7: Using your jar lifter, carefully load jars into the canner. Be sure each jar is fully submerged.
- Step 8: Allow jars to process for the required time, adjusting for altitude as needed.
- Step 9: Again using your jar remover, carefully lift each jar out of the water bath and set on a wire rack, cutting board or other heat resistant surface to cool. In order to confidently confirm that your jars have properly sealed, it is best to leave jars undisturbed for 12-24 hours.
7. How to Tell if Your Jars properly Sealed
Once your jars have fully cooled and rested, remove the bands from each jar. Now it’s time to check that seal! Here are three easy ways to do so:
- Pick up the jar by the lid (after removing the band). If the lid can hold the jar’s weight, you’re sealed!
- By running your finger gently over the top of the lid, confirm that the middle “button” feels concave.
- Check to make sure the lid feels firm and not springy.
*If you have a jar that failed to seal properly, all is not lost! You can choose to either re-process with a new lid, or just pop it in the refrigerator for immediate use.
8. Storing and using Your Home-Canned Tomatoes
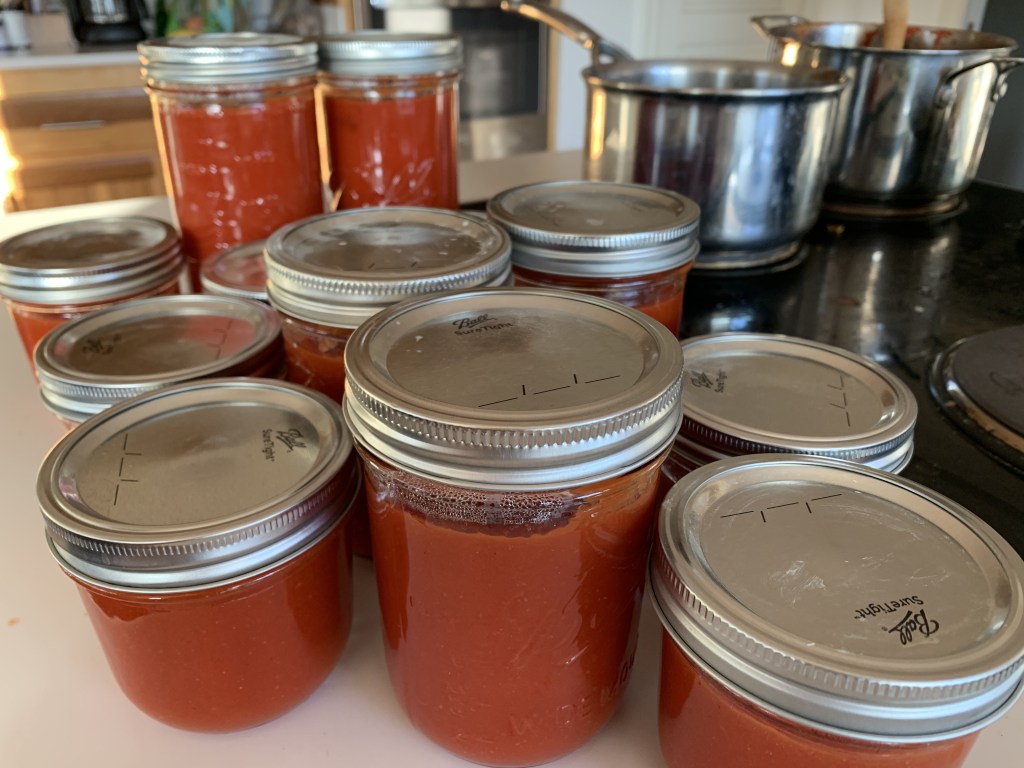
Finish up by filling your shelf with those beautiful jars! When storing your home-canned tomatoes, be sure to follow these final steps:
- Label each jar with the contents and date it was processed.
- Be sure all bands have been removed for storage! This helps prevent bacteria growth on the outside of jars due to trapped moisture and food particles.
- Keep jars stored in a cool, dark location.
- As you use your home canned goods, always inspect your jars before opening. Be sure they are still fully sealed, and that there are no cracks in the glass.
- Warning signs that a jar should be discarded: loosened seal, broken glass, dry streaks of food inside the jar, milky-looking liquid when contents should be clear, mold or foul smelling odor upon opening.
enjoy!
Now that you have a pantry full of canned tomatoes to use, the menu options are endless! Sauces, chili, soups, salsa…you’re set for your next recipe. Share your favorite tomato recipe in the comments!
Happy Canning!

Leave a comment