

My morning milking routine starts by pulling the milk machine wagon out of the garage and up to the laundry room where I keep clean and air dry all of the machine parts that touch the milk. After assembling the milk machine with clean parts, filling my udder wash bucket with warm soapy water, and gathering rags, I head out to the cows.
Whether you choose to hand milk or machine milk your cow, your process should be built around what works best for YOU, your cow, and your space. Here I will explain more about our process, and what we have learned through some trial and error.
Hand Milking Versus Machine Milking
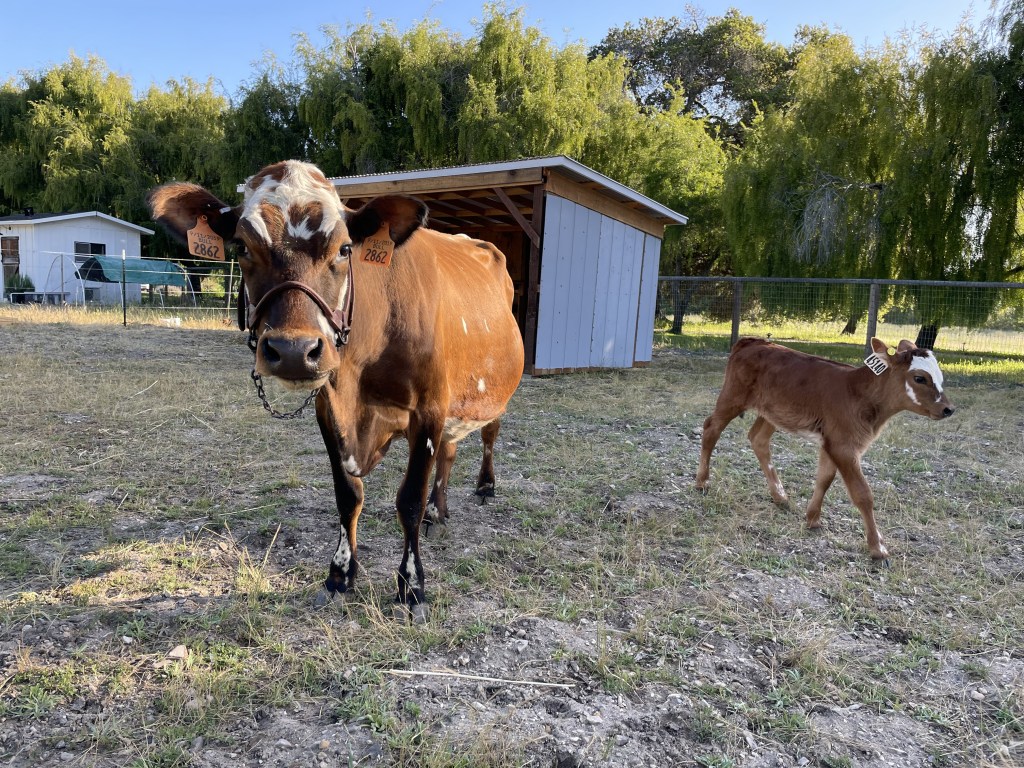
When we brought our first cow Margot home, I was determined to hand milk. After watching several tutorials online, I was hoping to streamline my milking process, skip all of the washing and sanitizing of various milk machine parts, and just hand milk. That first month of milking was humbling, to say the least. Let’s just say, Margot is now a machine milked cow.
Though hand milking does usually cut down on pre and post milking chore time by eliminating the time it takes to sanitize the machine parts, there are a lot of other factors to consider. If you choose to hand milk, you will be milking directly into an open bucket. This leaves room for ANYTHING to fall into the bucket and potentially contaminate the milk. Dust, hair, manure… So your cow must be thoroughly cleaned before you begin. Additionally, there is a learning curve to mastering the art of hand milking! I have friends who love and prefer to hand milk their cows, but this came after months of long, technique-building milking sessions and some very sore hand and arm muscles.
With machine milking, there is substantially more equipment cleaning required, but the milking process itself is much quicker and more efficient. Most days Margot is milked out completely within 5 minutes of hooking her up to the machine.
Situating Your Cow For Milking
I prefer to secure Margot in a stanchion with treats to keep her content while I milk. Every cow is different, but this is what works best for us. If you are blessed with a calm obedient cow, you may be able to milk without even needing to tether her!
Cleaning Your Cow
When I was hand milking, I started by brushing her whole back half, from her rumen down. Brushing clears most of the loose hairs, dust and any manure that could fall into the bucket as she shifts around during milking. I then move on to her udder with the soft brush, thoroughly brushing the entire udder from top down. This includes the teats also! While this sounds like it would be very uncomfortable (to nursing mothers especially!) the cows don’t mind it. On the contrary, this “teat brushing” mimics the sensation that mama cow feels when her calf’s very rough tongue is eagerly priming her teats for the milk to let down. Using multiple rags (and never double dipping!) I then carefully wash the entire udder and teats. This usually takes several rags until the last wash ends with a clean rag, then you are ready for the next step. Some prefer to air dry the teats for a couple of minutes before milking, but I have found that my cow’s teats do better when gently towel dried.
Now that I am machine milking, the cow cleaning process is much less involved. My main focus is on a clean udder, specifically the bottom of her udder and teats. Once your cow is hooked up to the machine, there are no “gaps” or areas of contamination between the end of her teat and the milk bucket. The milk travels from the teat cup, through a hose and is then collected into a closed milk bucket. This means cleaning the upper half of your cow is really not necessary for machine milking purposes.
Stripping the Teats
The practice of “stripping” is to simply dislodge any keratin plug that may have formed since her last milking, and more importantly clear any manure, debris or bacteria that may be sitting just inside the milk canal of each teat. This just takes a couple of hand pulls on each teat, then you are ready to start collecting clean milk! I just strip the milk right onto the floor of her stanchion, or occasionally toward the mouth of a lucky barn cat.
Time To Milk!
Now here is where hand milking gets romanticized the most, as it should be. Once you nail down the technique and build up some hand/finger strength, the art of hand milking a calm cow is truly a therapeutic practice. I will save the details of different hand milking techniques for another post, but the idea here is to milk each quarter out completely, as best as you can. When a quarter is left partially full, not only does this tell the cow to produce less milk (supply and demand), there is also a risk of developing mastitis. While the milk itself does not cause mastitis, an open or dripping milk canal is the perfect breading ground for bacteria to settle and thrive. Now there are some exceptions to this rule when you are calf sharing, but I won’t go into those details here either.
There is always a risk of your cow kicking over the bucket, or for something to fall into the bucket. The phrase “Don’t cry over spilled milk” takes on a whole new meaning once you have hand milked a cow! One way to ensure you don’t waste an entire bucket’s worth of hard work when your cow sneezes or kicks at a pesky fly… is to use multiple buckets. When hand milking, I like to keep a main collection bucket with a lid near, and use a separate bucket to milk directly into. Every few minutes stop and pour the milk into the main collection bucket, replace the lid, then continue on with your milking.
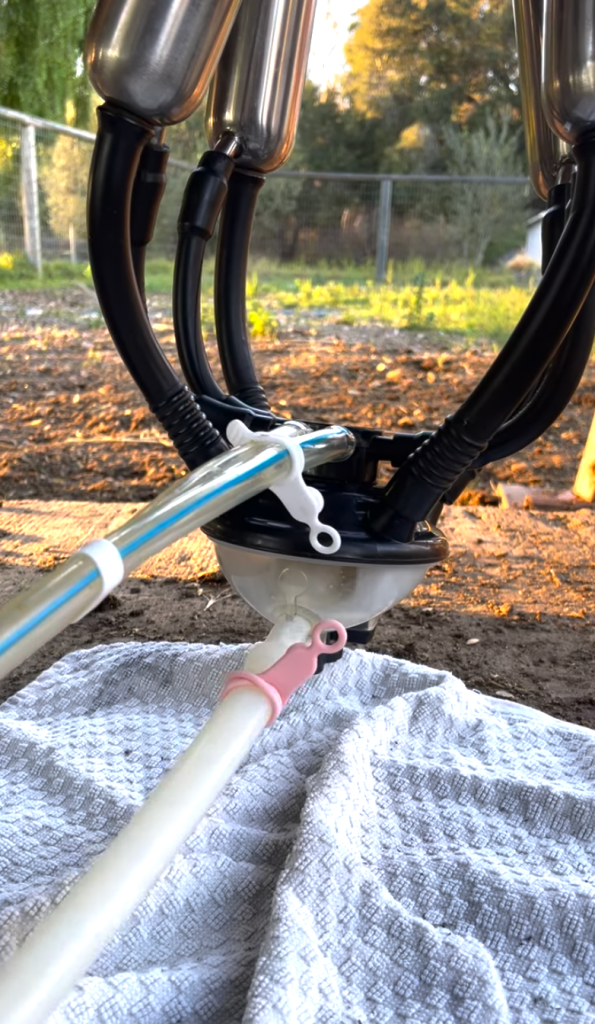
Switching gears to my machine milking routine, once her teats are stripped, I prep the milk machine to attach. This process is simply turning on the machine and allowing it to build suction for a few seconds. Once it reaches pressure, I carefully attach each teat cup, one at a time. Once hooked up, I double check the pressure gauge to make sure that the settings are still where I want them, and enjoy a few minutes of peace while the machine does the work for me. It’s pretty great. Additionally, I have found it to be easier to fully milk out each quarter with the machine.
Processing the Milk
Once your milk is collected, its time to properly clean and store it. Whether hand milked or machine milked, I strain my bucket of milk through a disposable mesh disk, directly into glass jars. Some prefer to use cheesecloth or a clean towel, but I have found that the milk stays fresh longer when using disposable strainers. The practice of straining the milk is to simply cut down on any contaminants that may have snuck in at some point (hairs, dust, etc.). Rarely do I see any debris in the strainer from the milk machine, but when hand milking it is not unusual to see it catch a hair or tiny fleck of hay. If I suspect any debris from manure, the milk goes to livestock or nourishes the soil in my garden. This is pretty rare.
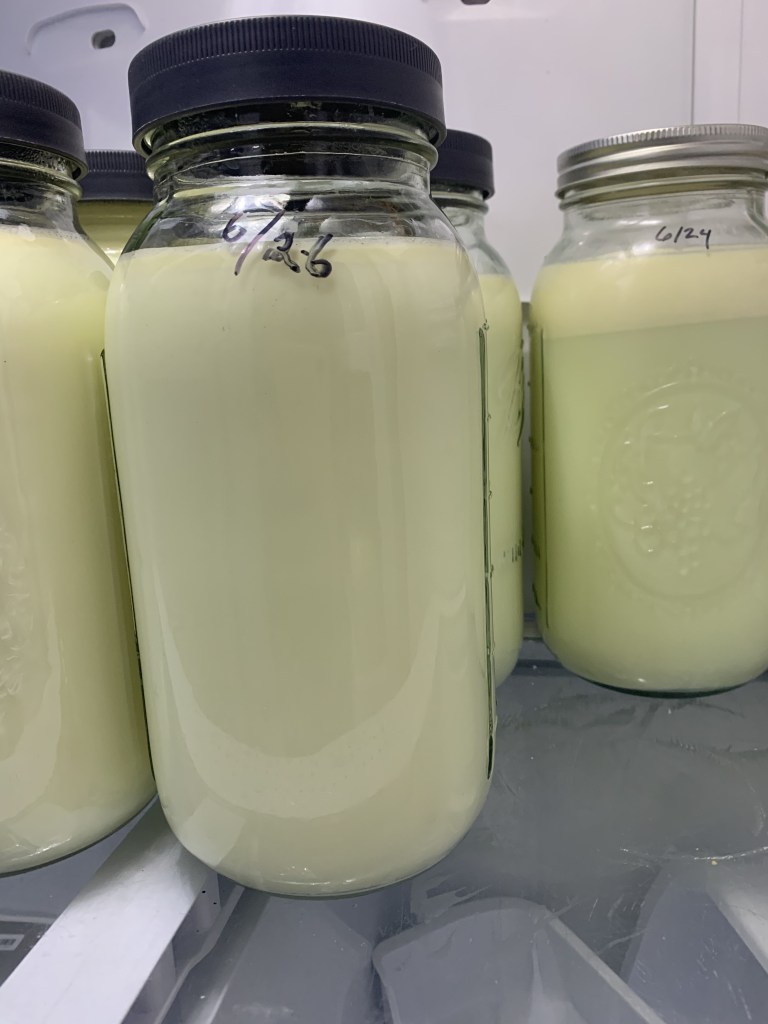
After straining the milk, I then write the date on the glass with a sharpie (it washes off) and immediately put the lidded jars into my milk fridge to chill. If you’re planning to transport the milk, it is best to first leave it in the fridge for at least 2-3 hours to allow the jar to come down to a nice cool temperature. This will prolong the shelf life.
Cleaning Your Equipment
If you are hand milking, simply wash your milk bucket and udder wash bucket with hot soapy water and air dry. Easy!
Now if you are machine milking, this is where a thorough machine cleaning is really important. I start by washing my udder wash bucket, then filling it with a mixture of hot soapy water and distilled vinegar. For this I use a 2 gallon bucket, so it has plenty of volume to thoroughly clean my machine. I then submerge the milking claw into the soapy water bucket and turn on the machine. This allows the 2 gallons of hot, soapy, vinegar water to run through all of the machine parts that the milk does. Next, I rinse my cleaning bucket and refill with hot, clean water, submerge the claw again and run another cycle through the milker as a final rinse.
Once your machine is cleaned, be sure to dissemble all milk tubes from the machine and claw. It is very important to allow them to air dry completely! If an adequate amount of airflow is not provided, trapped moisture within the machine parts and milk bucket will be prime breeding ground for bacteria to grow. While this isn’t necessarily dangerous, it will start to effect the taste and shelf life of your milk in the days to come.
In addition to the daily machine cleaning, I perform a weekly(ish) deep clean, by dissembling all of the sealed parts on the milking claw, scrubbing them down and allowing them to air dry before reassembling. This helps discourage slow build up over time.
In A Nutshell
As a quick reference, here is a condensed list of my milking process steps:
- gather equipment and supplies
- situate your cow in a stanchion or other milking station
- clean your cow, udder and teats
- strip teats
- machine or hand milk each quarter completely
- strain the milk
- label and appropriately store milk
- clean equipment, air dry
Do your best to find the JOY in building these rhythms, developing processes and sharpening your skills.
As always, Happy Milking!

Leave a comment